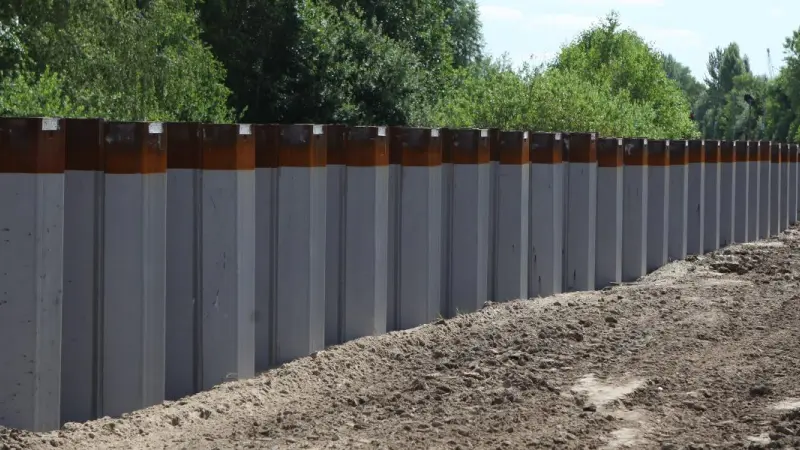
Water shows up where it should not, and a retaining wall that looks strong can suddenly become a drainage problem, a schedule delay, and a cost trap all at once.
To prevent leakage in sheet pile walls, I focus on four things: choose the right pile type, protect the interlocks, seal weak joints, and control water with drainage or cut-off measures. A sheet pile wall can reduce water inflow very well, but it is not automatically 100% watertight without the right design, installation, and sealing details.
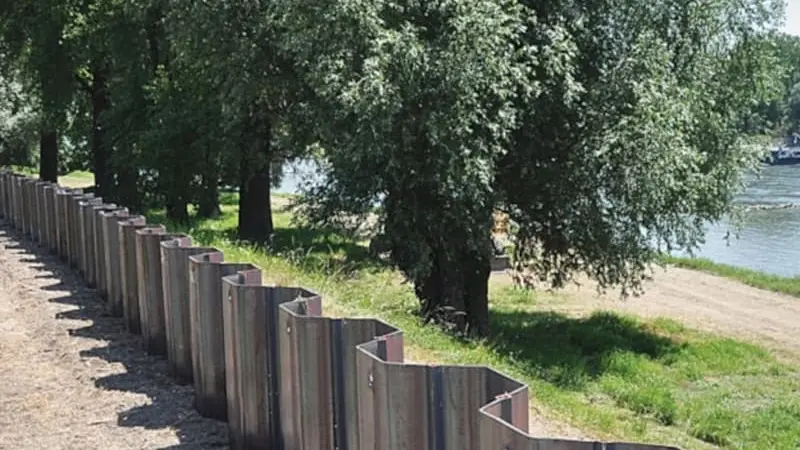
In my work, I have seen many buyers ask the wrong first question. They ask, “Which sheet pile is cheaper?” I usually ask a different one: “How much water can your wall tolerate?” That changes the whole discussion. If the project is near a river, a port, a basement excavation, or a flood control line, leakage is not a side issue. It is one of the main design conditions. A sheet pile wall is not only there to hold soil. In many projects, it also has to slow down groundwater, reduce seepage, and protect the work area from constant pumping and repair. So in this article, I want to explain leakage in a practical way. I will not treat it as a simple yes-or-no problem. I will break it down by wall type, interlock condition, repair methods, drainage strategy, and retaining wall geometry. That is the part many general articles skip, and I think that is exactly where contractors and distributors need clarity.
Is sheet piling watertight?
A sheet pile wall can be very water-resistant, but I would not call every sheet pile wall fully watertight by default. Water control depends on pile type, interlock quality, soil conditions, installation accuracy, and whether sealing measures are added.
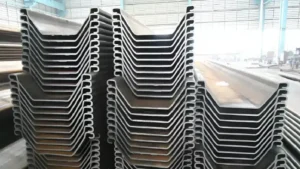
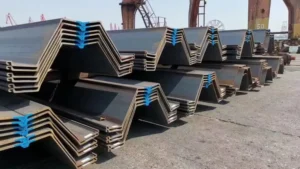
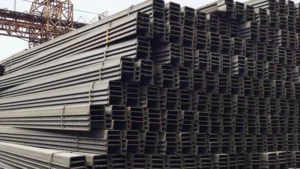
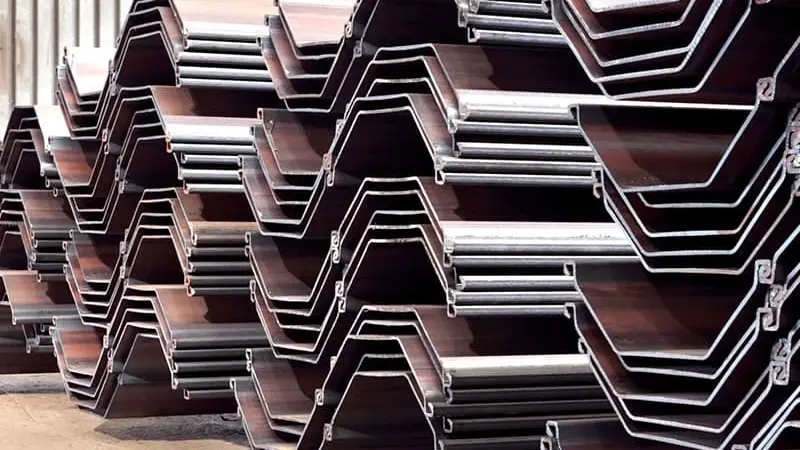
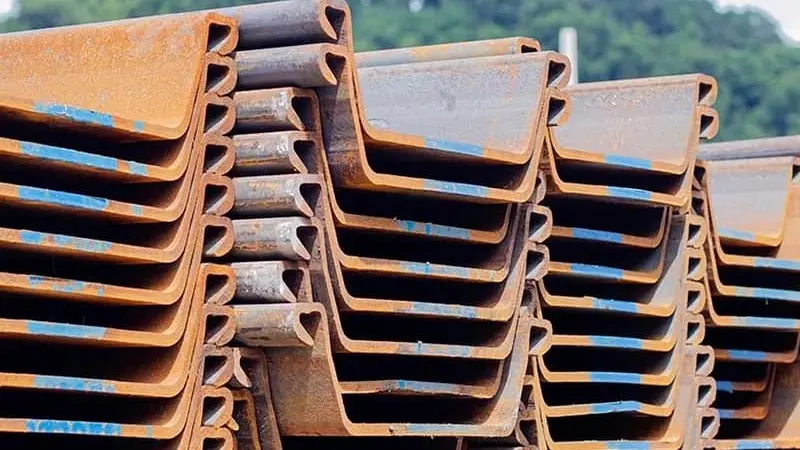
Sheet piling is not automatically watertight. Hot rolled steel sheet piles usually offer better interlock fit and better water resistance than cold formed piles, but even then, leakage can still happen at interlocks, damaged joints, pile toe gaps, or tie-rod penetrations. If a project needs strict water cut-off, I always recommend adding a sealing strategy rather than relying on steel alone.
Why “watertight” is the wrong word if we do not define the project target
When a client asks me whether sheet piling is watertight, my first reaction is always: watertight to what level? There is a big difference between “reduce groundwater inflow so excavation stays manageable” and “create a near cut-off wall for deep excavation below water table.” These are not the same target, and they should not be treated the same way.
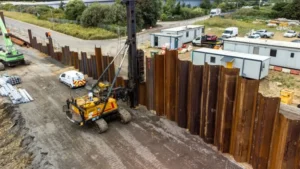
In practice, steel sheet piles are interlocking sections driven into the ground to form a continuous wall. Because the wall is continuous, it can reduce water inflow far better than open soldier pile systems. That is one of the reasons sheet piling is widely used in cofferdams, riverbank walls, quay walls, and deep excavations. Keller’s overview of sheet piles also notes that sheet pile walls can create a barrier to groundwater flow, and that hot rolled piles generally provide better water resistance than other alternatives. That matches what I see in export projects as well.
Still, “better water resistance” is not the same as “zero leakage.” Leakage usually appears in one of these areas:
1. Interlock leakage
This is the most common issue. Sheet piles work because each section locks into the next one. If the interlock is damaged during driving, filled with debris, opened by poor alignment, or distorted by hard obstructions in the soil, water can travel through that path. For a practical overview of interlock leakage and sealing, see the AMCRPS Impervious Steel Sheet Pile Walls guidance.
2. Toe seepage under the wall
Even if the wall itself is tight, water can flow under the toe of the sheet pile wall if the embedment depth is not enough for the groundwater condition. In that case, the problem is not really “the wall leaking.” It is a cut-off depth problem.
3. Tie rod, connection, and penetration details
If the wall is anchored, every connection detail matters. Waler connections, tie rod penetrations, corner joints, and transitions to concrete structures are common weak points. I have seen projects blame the steel piles when the real leak was at the wall-to-structure interface.
4. Corrosion or long-term movement
For permanent walls, especially in marine or aggressive groundwater environments, long-term performance matters. A wall that performs well in year one may develop issues later if corrosion allowance, coating, and maintenance were not considered. For more on sealing systems and watertightness approaches, see terra infrastructure sealing systems.
What affects water tightness the most?
In my view, these are the main factors:
| Factor | Why it matters | My practical view |
|---|---|---|
| Pile manufacturing method | Hot rolled piles usually have more precise interlocks and better fit | For strict seepage control, I lean toward hot rolled sheet piles |
| Installation accuracy | Poor verticality or twisting can open interlocks | A good pile can still leak if driving control is poor |
| Soil condition | Cobbles, debris, dense layers, and obstructions can damage interlocks | Ground conditions should influence both pile type and hammer choice |
| Sealant use | Sealants improve interlock performance | For serious groundwater control, I treat sealant as part of the system, not an extra |
| Embedment depth | Too shallow embedment allows underseepage | A “tight” wall above grade can still fail below grade |
| Wall details | Corners, tie rods, and joints often leak first | Details deserve the same attention as the pile section itself |
My view: water control is a system decision, not a pile-only decision
This is the part I care about most. Many suppliers present sheet piles as if the steel section alone decides the outcome. I do not agree. A sheet pile wall is a system made of steel section, interlock condition, installation method, sealing approach, and groundwater control plan. If the project needs a dry excavation or a reliable flood barrier, I think the right question is not “Is sheet piling watertight?” but “What level of seepage can this wall system achieve under this soil and water condition?”
For example, in a riverbank protection project, small seepage may be acceptable if the wall is mainly there for soil retention and bank stability. But in a deep basement excavation near the water table, the tolerance for inflow is much lower. In that case, I would look at hot rolled piles, interlock sealant, careful driving control, and possibly extra cut-off or bottom sealing measures if the geology demands it. That is a more honest way to approach the problem.
How to fix a leaking retaining wall?
A leaking retaining wall should be fixed by first identifying the water path, then matching the repair method to the cause. Some walls need drainage relief, while others need joint sealing, crack injection, toe cut-off improvement, or structural repair.
To fix a leaking retaining wall, I first check whether the water is coming through the wall, through joints, from behind the wall because of bad drainage, or from beneath the wall. Then I choose the repair: add or repair drainage, seal cracks and joints, improve waterproofing, inject grout into leakage paths, or strengthen the wall if movement caused the leak.
I do not start with sealant. I start with diagnosis.
This is one of the biggest mistakes I see. A contractor finds water on the visible face of a retaining wall and immediately asks for a coating or a sealant. That is too early. Water stains are only the symptom. The real question is where the water is entering and why it is building pressure in the first place.
A leaking retaining wall usually falls into one of four categories:
1. Drainage failure behind the wall
This is common in concrete and masonry retaining walls, but it also matters around sheet pile systems that are combined with backfill and facing elements. If backfill drainage is poor, hydrostatic pressure builds behind the wall. Water then looks for a path through joints, cracks, weep holes, cold joints, or the wall-to-base connection.
2. Crack or joint leakage
Concrete walls can crack from shrinkage, settlement, overload, or poor construction joints. Segmental walls can leak at joints. Sheet pile walls leak most often at interlocks or corner connections. Guidance on watertight sheet pile walls and interlock sealing shows why these details matter.
3. Underseepage or base leakage
Sometimes the wall face is not the real problem. Water is traveling under the wall and then emerging at the base or inside the excavation. In those cases, patching the face is often wasted money.
4. Structural movement that opens new leakage paths
If the wall rotates, settles, or deflects too much, previously tight joints can open. In that case, a cosmetic repair will not last long.
My step-by-step approach to repair
| Step | What I check | Why it matters |
|---|---|---|
| 1 | Where the water appears | It helps distinguish face leakage from base seepage |
| 2 | Recent weather and groundwater level | Some leaks are seasonal, others are constant |
| 3 | Wall type and age | Repair options differ for concrete, masonry, and steel sheet piles |
| 4 | Drainage condition behind wall | Clogged drains create pressure and repeat failures |
| 5 | Visible movement, bulging, or settlement | If the wall moved, sealing alone may fail |
| 6 | Joints, penetrations, and corners | These are common weak points |
Repair options I would consider
Improve drainage first if pressure is the real problem
If the wall is holding wet soil and there is no proper drainage layer, filter fabric, collector pipe, or weep relief, I would deal with that first. A retaining wall is much easier to keep dry when water is relieved before it pushes on the wall.
Seal cracks and joints
For concrete retaining walls, epoxy injection or polyurethane injection may be used depending on whether the crack is structural or actively leaking. For masonry walls, repointing and membrane repair may help. For sheet pile walls, interlock sealing or localized grout sealing may be needed. A practical discussion of sheet pile wall leakage sealing shows several commonly used sealing approaches.
Rebuild weak waterproofing
If there is an old membrane behind the wall and it failed, patchwork on the exposed face may only buy time. In some cases, proper repair means excavation, drainage replacement, and new waterproofing.
Treat underseepage as a cut-off problem
If water is traveling below the wall, I would look at deeper cut-off measures, toe extension, grout curtains, or bottom sealing depending on the project.
My view: “fixing the leak” and “fixing the wall” are not always the same job
I think this distinction is important. A wall can leak without being structurally unsafe, and a wall can also be structurally unsafe even if the visible leak looks minor. If the wall shows tilt, settlement, loss of backfill, erosion at the toe, or repeated wet spots after repair, I would not treat it as a simple maintenance issue. I would treat it as a performance issue that needs engineering review.
For industrial, marine, and excavation support projects, I usually push clients to think in terms of water path + load path. Water path means where seepage travels. Load path means how the wall is carrying soil and water pressure. If you only repair the water path and ignore the load path, the leak may come back. If you only strengthen the wall and ignore the drainage, the pressure remains. Good repair needs both views at the same time.
How to stop water from coming through a retaining wall?
To stop water from coming through a retaining wall, I try to reduce hydrostatic pressure, block the main leakage path, and keep water away from vulnerable joints. The best solution usually combines drainage and sealing, not one or the other.
The most reliable way to stop water from coming through a retaining wall is to control water behind the wall with drainage, then seal the wall’s weak points such as cracks, joints, and penetrations. For sheet pile walls, I focus on interlock sealants, good embedment, and, when needed, grout or cut-off measures to reduce seepage.
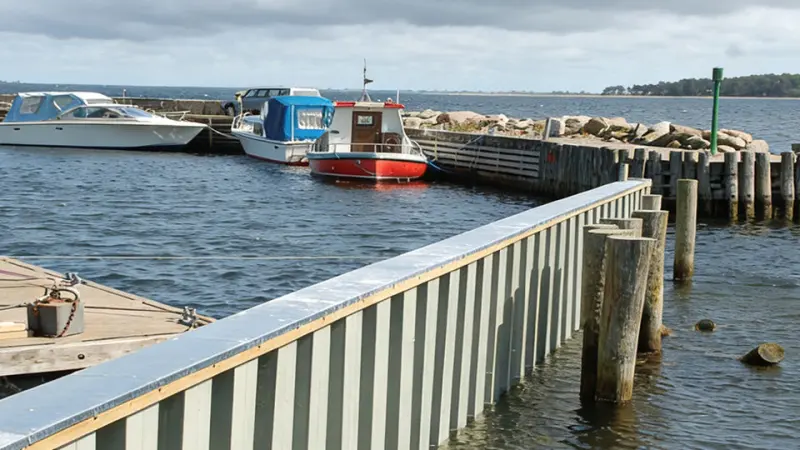
Water pressure is the real enemy, not just moisture
When people say “water is coming through the wall,” they often imagine the wall itself is the main problem. In my experience, the bigger problem is usually hydrostatic pressure. Water builds behind the wall, the pressure rises, and then the wall reveals its weakest point. That point may be a crack, a cold joint, an interlock, a pipe penetration, or the base connection.
So when I want to stop water, I think in layers:
- Keep as much water away from the wall as possible
- Relieve the water that still reaches the back of the wall
- Seal the parts of the wall that are likely to leak
- Add cut-off measures if the project needs stricter groundwater control
That order matters. If I skip the first two steps and only seal the visible leak, I am usually treating symptoms, not cause.
The practical toolbox I use
1. Back-of-wall drainage
For many retaining walls, this is the first line of defense. A drainage layer of clean granular fill, wrapped filter fabric where needed, and a perforated collector pipe at the base can reduce pressure fast. Weep holes can help in some wall types, though they are not always appropriate for every project.
2. Surface water control
I pay attention to grading, runoff, and drainage above the wall. If rainwater from the site is allowed to run straight toward the retained soil, the wall will stay wet no matter how much sealant is applied.
3. Face sealing and joint treatment
For concrete walls, that may mean crack injection, joint sealant, or coating systems. FEMA’s flood retrofitting guidance also notes that walls and joints often need sealants because most wall materials are not naturally impervious to water. That principle is useful beyond homes too: if the material and joint are exposed to water pressure, sealing details matter.
4. Sheet pile interlock sealing
For steel sheet piles, this is one of the most direct ways to improve water performance. Interlock sealants, swelling materials, or post-installation grouting can help reduce leakage. In difficult cases, contractors may repair leaking interlocks by grout-based methods around the joint area. A technical discussion of sheet pile interlock sealants shows how much leakage reduction is possible when the sealant system is well chosen.
5. Cut-off and bottom sealing for difficult groundwater conditions
If the excavation is deep and groundwater is high, wall-face repair may not be enough. Underseepage can require deeper embedment, a grout curtain, secant cut-off elements, or a tremie bottom seal in excavation work. Keller’s descriptions of sheet pile walls, secant walls, and tremie bottom seals show the same basic lesson: water control often needs more than one barrier.
What I would choose for different leakage situations
| Leakage situation | What I would look at first | Likely solution path |
|---|---|---|
| Damp wall face after rain | Surface runoff and drainage behind wall | Regrade surface, improve drain layer, clear outlets |
| Active flow from a crack | Structural crack or cold joint | Injection repair plus drainage review |
| Water at sheet pile joints | Interlock condition and installation damage | Interlock sealant, localized grout sealing, joint repair |
| Water emerging at base of wall | Underseepage or poor toe cut-off | Deeper cut-off, toe treatment, bottom sealing, dewatering review |
| Repeated wet spots after “repair” | Pressure not relieved or movement continues | Full diagnosis, drainage correction, structural review |
My view: if a wall must stay dry, drainage alone is not enough
I want to be clear here. Good drainage is essential, but in heavy-duty excavation support, marine works, flood control, or river structures, I do not like relying on drainage alone. If the wall must keep groundwater under control, I prefer a belt-and-suspenders approach: proper wall type, good embedment, drainage, and a real sealing plan. It costs more at the start, but it usually costs less than repeated pumping, delay claims, emergency grouting, and client frustration later.
That is one reason I keep pushing hot rolled sheet piles for many water-related projects. In our riverbank protection work, for example, the interlock continuity and installation efficiency matter a lot. A retaining wall near water does not get judged only by its bending capacity. It also gets judged by how much trouble it creates after installation.
What is the 1 3 rule for retaining walls?
The 1:3 rule usually refers to a simple stability guideline used in small retaining wall discussions: for every 1 unit of wall height, the base or setback relationship should be proportioned conservatively to improve stability. But the phrase is used loosely, and I do not like treating it as a design rule for engineered retaining walls.
The “1 3 rule” for retaining walls is often used informally to describe a basic proportion guideline, not a universal engineering rule. In practice, retaining wall design depends on soil pressure, surcharge, drainage, groundwater, wall type, embedment, and structural capacity. I do not recommend using a simple ratio as a substitute for actual design, especially for sheet pile walls or deep excavation support.
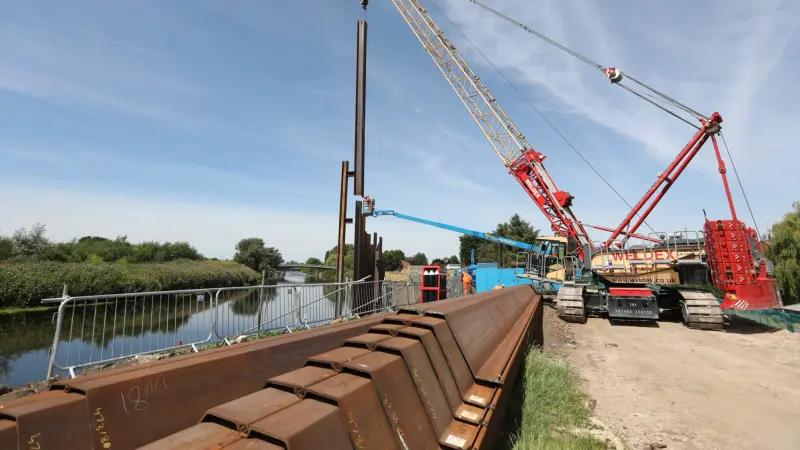
The problem with shortcut rules
I understand why people search for a simple rule. Retaining walls look simple from the outside. A wall holds soil. So it feels natural to ask for one proportion rule that “always works.” But once the wall gets taller, supports traffic, sits in wet soil, or acts as excavation support, simple rules stop being reliable.
The “1:3 rule” can mean different things depending on who is using it:
- a setback ratio for gravity-style landscaping walls
- a rough base-width idea for low masonry or concrete gravity walls
- a slope relationship in landscape retaining practice
- a simplified stability rule repeated online without context
That is exactly why I do not like quoting it without explanation. A sheet pile wall is not designed the same way as a small garden block wall. A tied-back waterfront wall is not designed the same way as a low gravity wall beside a driveway. One ratio cannot cover all of that.
What actually controls retaining wall stability?
1. Lateral earth pressure
This is the starting point. Soil pushes on the wall. The pressure changes with wall movement, backfill type, wall height, and surcharge loads. If there is traffic, stored material, or nearby foundations, the pressure can rise.
2. Water pressure
This is the part many simplified rules ignore. Water can be as important as soil. A wall with poor drainage may fail not because the soil load was misjudged, but because water pressure built up behind it.
3. Sliding, overturning, and bearing
For gravity and cantilever walls, I look at sliding resistance, overturning stability, and bearing pressure on the foundation soil. These are basic checks, but they are not “one ratio” checks.
4. Global stability and deep failure surfaces
For taller walls, slopes, waterfront structures, and soft ground, local wall checks are not enough. The whole soil mass can move. FEMA’s slope stabilization guidance also shows that retaining solutions need to be selected with groundwater and site stability in mind, not only wall shape.
5. Structural capacity of the wall itself
Concrete walls need reinforcement design. Sheet pile walls need section modulus, bending resistance, embedment, and support design. Anchored walls need tieback and waler design. Again, this is far beyond a 1:3 shortcut.
Why the 1:3 idea is especially weak for sheet pile walls
Sheet pile walls behave very differently from small gravity walls. A steel sheet pile wall gains resistance from embedment into the ground and, in many cases, from anchors or struts. Its performance depends on bending stiffness, soil support below excavation level, groundwater, and wall support conditions. The visible height above ground tells only part of the story.
That means if someone asks me whether the 1:3 rule applies to steel sheet piles, my answer is basically no, not in any useful design sense.
Here is how I think about it:
| Wall type | Is a simple 1:3 rule useful? | My view |
|---|---|---|
| Low garden gravity wall | Sometimes as a rough visual guide only | Fine for conversation, not final design |
| Reinforced concrete retaining wall | Not enough | Needs proper geotechnical and structural checks |
| Segmental retaining wall | Limited value | Manufacturer system rules and drainage matter more |
| Cantilever sheet pile wall | No | Embedment, soil profile, and water control govern behavior |
| Anchored sheet pile wall | No | Anchor level, spacing, wall section, and groundwater are critical |
My view: shortcut rules are okay for discussion, not for procurement or project decisions
I do not mind simple rules as a way to start a conversation. They help non-engineers picture wall behavior. But I do mind when those rules drive real buying decisions, especially in B2B projects. If a contractor is choosing sheet piles for a riverbank, basement, quay wall, or flood protection line, I would never want them to choose section size, length, or support arrangement based on a ratio they saw in a generic article.
This is also where I think suppliers should be more careful. We should not sell sheet piles as if they are just steel lengths with a weight and a price. For many projects, the client needs help thinking through wall height, groundwater, interlock performance, corrosion, transport length, and whether the wall is temporary or permanent. That is where real value sits. A cheaper section that leaks, twists, or needs emergency sealing later is not actually cheaper.
My practical checklist for preventing leakage in sheet pile walls
After looking at many water-related retaining projects, I keep coming back to the same checklist. If a client asks me how to prevent leakage before the piles are even shipped, this is the framework I use.
1. Match the pile type to the water-control target
If the project needs stronger seepage control, I prefer hot rolled steel sheet piles with reliable interlock geometry. I do not want to treat all pile types as equal when groundwater performance matters.
2. Ask early whether the wall is temporary, permanent, or part of a cofferdam
The sealing strategy changes with the service goal. A temporary excavation wall may tolerate small seepage plus pumping. A permanent river wall or flood-control line may not.
3. Check the soil profile before talking about “watertightness”
Dense obstructions, fill debris, and mixed strata can damage interlocks during driving. If the ground is difficult, I want the installation method and tolerance plan discussed early.
4. Protect the interlocks during handling and installation
A good interlock can be ruined by poor stacking, impact damage, dirt, or twisting during driving. This sounds basic, but it matters.
5. Consider interlock sealant from the start
If the project is below water table or near a river, I usually prefer to discuss sealant before installation rather than emergency repair after installation. The guidance in AMCRPS Impervious Steel Sheet Pile Walls is useful here.
6. Do not ignore toe seepage
If water can pass under the wall, a perfect interlock still will not solve the whole problem. Embedment depth and cut-off depth must fit the groundwater condition.
7. Treat corners and wall connections as critical details
Straight runs get most of the attention, but corners, closures, tie locations, and transitions to concrete often become the first leak points.
8. Plan drainage and pumping as part of the system
Even when the wall is meant to reduce inflow, site drainage and dewatering still matter during construction.
A quick example from riverbank protection work
In one riverbank-style application, the owner mainly cared about bank stability and long-term durability, but water control still mattered because uncontrolled seepage could erode fines behind the wall. In that kind of case, I do not chase an unrealistic “zero leakage” promise. I focus on the right pile section, reliable interlocks, proper embedment, and efficient installation with vibratory equipment. That balance matters. The wall must be strong enough, practical to install, and tight enough for the service condition.
That is also why I like hot rolled U type steel sheet piles for many river and flood control jobs. They give a continuous retaining line, good structural behavior, and dependable interlocking performance when the project team installs them well. In my view, leakage prevention starts long before water appears on site. It starts when the buyer, contractor, and supplier define what the wall really has to do.
Conclusion
To prevent leakage in sheet pile walls, I do not rely on one promise or one product feature. I rely on the right wall system, the right installation, and the right water-control details.