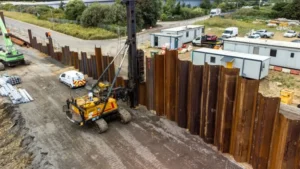
I have seen too many construction projects get delayed because the sheet piles were not driven deep enough. The wall leans, the soil moves, and the whole site becomes a mess. It is a nightmare scenario that I have helped contractors fix on multiple occasions.
The calculation involves balancing active earth pressure (which pushes the wall outward) against passive earth pressure (which resists at the toe). You essentially solve for the depth (D) where the sum of moments around the pivot point equals zero, and then apply a safety factor of 1.2 to 1.4.
You might think you can just guess the depth and move on. I would strongly advise against that. I have learned from experience that getting this calculation right is the difference between a wall that holds and a wall that fails. In the following sections, I will break down the exact methods, the rules of thumb, and the engineering principles I use to ensure my clients get the most reliable and cost-effective solutions for their projects.
What is the rule of thumb for sheet pile embedment depth?
When I speak with contractors, the first question is always about a "quick" number. Everyone wants a shortcut. But I have to warn you that relying on a simple rule can be dangerous because it ignores the specific soil conditions on your site.
A common but conservative rule of thumb is that the embedment depth should be roughly equal to the unsupported height of the wall for cantilevered walls. For anchored walls, a 2:1 ratio of total length to exposed height is often used as an initial guess.
I have found that while these thumb rules are useful for making a quick budget estimate, they are not enough for final design. I always follow up a rule-of-thumb check with a proper geotechnical calculation. The soil type changes everything.
A "rule of thumb" is just a starting point. I use it to do a sanity check on my calculated results. If my detailed calculation gives a depth that is drastically different from the thumb rule, I know I need to double-check my work. This extra step has saved me from embarrassing mistakes in the past.
How to calculate piling depth?
The core of the calculation is a method called the "Fixed Earth Support Method" or the "Net Pressure Method." I rely on this to provide my clients with a depth that is both safe and economical.
The calculation is a trial-and-error process. You assume a depth, calculate the active and passive pressures, and then check if the sum of the moments around the pivot point is zero. If not, you adjust the depth and try again until the moments are balanced.
Understanding the Forces
To calculate the depth, I first need to understand the forces acting on the wall. The soil on the excavation side pushes the wall forward. This is the active pressure. The soil in front of the wall pushes back. This is the passive pressure. The goal is to find a depth where the passive pressure is strong enough to resist the active pressure.
I normally break this down into a few key steps:
- Calculate the Active and Passive Earth Pressure Coefficients (Ka and Kp). This depends on the soil’s angle of internal friction (φ). I use Rankine’s theory for this. For a given φ, Ka = (1 – sin φ) / (1 + sin φ) and Kp = 1/Ka. A geotechnical report is the best source for φ values .
- Calculate the Horizontal Stresses. I apply these coefficients to the vertical effective stress at different depths to find the horizontal pressure. The soil’s unit weight (γ) is crucial here .
- Determine the Pivot Point. The wall rotates around a point near its toe. I assume this point exists at a certain depth below the excavation level.
- Sum the Forces and Moments. I create a diagram of all the active and passive forces. I then sum the moments about the pivot point. I keep adjusting the embedment depth until the sum of the moments is zero. This gives me the theoretical embedment depth (d0) .
I often use this step-by-step method to walk my clients through the design. It shows them that I am not just guessing, but using proven engineering principles to ensure their investment is secure.
The Blum Method and Safety Factors
In my experience, the standard calculation method is often attributed to Blum. A critical insight from this method is that the passive pressure at the very bottom of the pile is actually underestimated. To correct for this, the theoretical depth (d0) is increased by a factor, α.
Blum’s method introduces a factor of safety, usually 1.2, to the theoretical depth. This means the final embedment depth is d = 1.2 * d0 [web:10][web:23].
This factor of safety is a safeguard against uncertainties in the soil. It accounts for things like variations in soil properties and potential over-excavation. I always emphasize this to my clients: the extra cost of a slightly deeper pile is minimal compared to the cost of a structural failure. I have seen projects where contractors tried to save money by ignoring the safety factor, and they always ended up spending more on repairs.
How deep should sheet piles go?
The final depth of your sheet piles is the answer to the calculation we just discussed. It is a number derived from a balance of forces and a safety margin. But I always tell my clients that it is also a function of the soil you are driving into.
The sheet piles must be driven deep enough to develop the passive resistance needed to stabilize the wall. This depth typically ranges from 1.2 to 1.4 times the theoretical depth required for equilibrium.
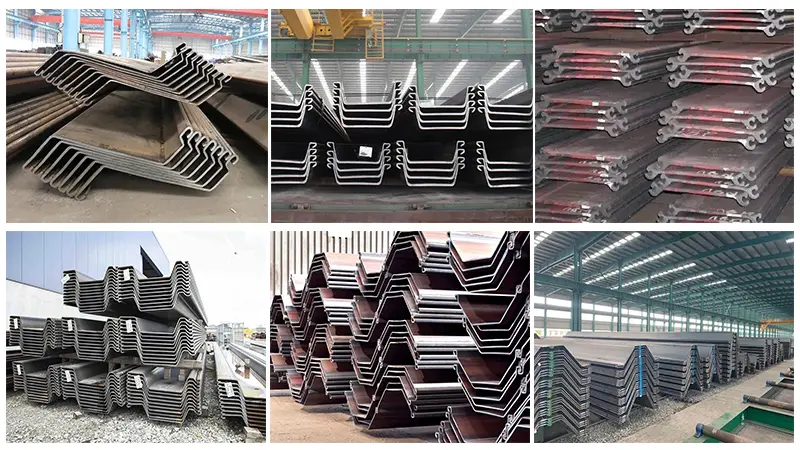
The Role of Soil Type
The type of soil you are building in dramatically impacts the required embedment depth. I have worked on projects in all kinds of soils, and the differences are stark.
- Cohesionless Soils (Sand and Gravel): In these soils, the passive resistance comes from the friction between the soil grains. I often use normalized relationships to simplify the calculations. The calculation is more straightforward, but the depth can be significant for tall walls.
- Cohesive Soils (Clay): Clay soils are more complex. They can provide strong passive resistance in the short term, but this can change over time as pore pressures dissipate. I often need to consider the undrained shear strength of the clay in my calculations. The required depth can be much shallower in stiff clay than in loose sand.
- Soil Stratification: It is rare to find a site with just one type of soil. Most have layers of sand, clay, and gravel. I have to calculate the pressure for each layer separately. A layer of soft clay at the toe of the pile can significantly reduce the passive resistance and require a much deeper embedment.
I always insist on a thorough geotechnical investigation before doing the calculation. I have learned the hard way that assuming the soil conditions is a recipe for disaster.
The Importance of Installation
Even a perfectly calculated depth is useless if the piles are not installed correctly. I have seen countless projects where piles were not driven to the required depth due to hard driving conditions.
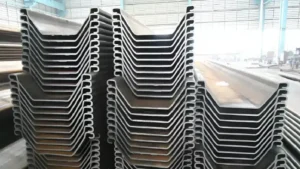
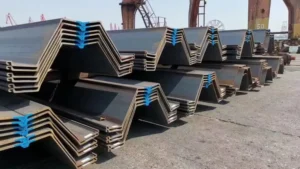
The equipment and the ground conditions influence the maximum length of piles that can be driven effectively. For example, in "normal" driving conditions, a single pile can be pitched and driven up to 16 meters beyond its neighboring pile. In harder conditions, this number drops significantly . When I source sheet piles for a client, I always check the installation conditions. For hard driving, I might recommend a more robust profile or a different installation method, like pre-drilling.
I always advise my clients to specify the final toe depth and to verify it during installation. They can do this by checking the final driving resistance or by measuring the pile length. It is a small investment of time that prevents a huge liability down the road.
Conclusion
Calculating the correct sheet pile embedment depth is essential for project safety and success. It is a balance of geotechnical forces, a thorough calculation, and a healthy respect for the soil and installation conditions.